I got inspired by a little book about raised bed gardening.
If prepared well, you will have a special microclimate for your gardening.
Not that we do not have any fruits or vegetables growing in our garden… but it is worth a try…
This will be my first “carpenter” project.
Material needed for 1 raised bed ca. 1 m x 55 cm x 43.5 cm:
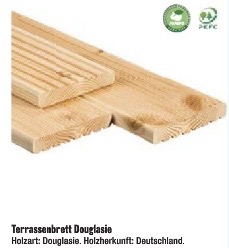
5 terrace boards 2m x 14.5cm x 2.5 cm (already treated)
2 square pole 1m x 4cm x 4cm
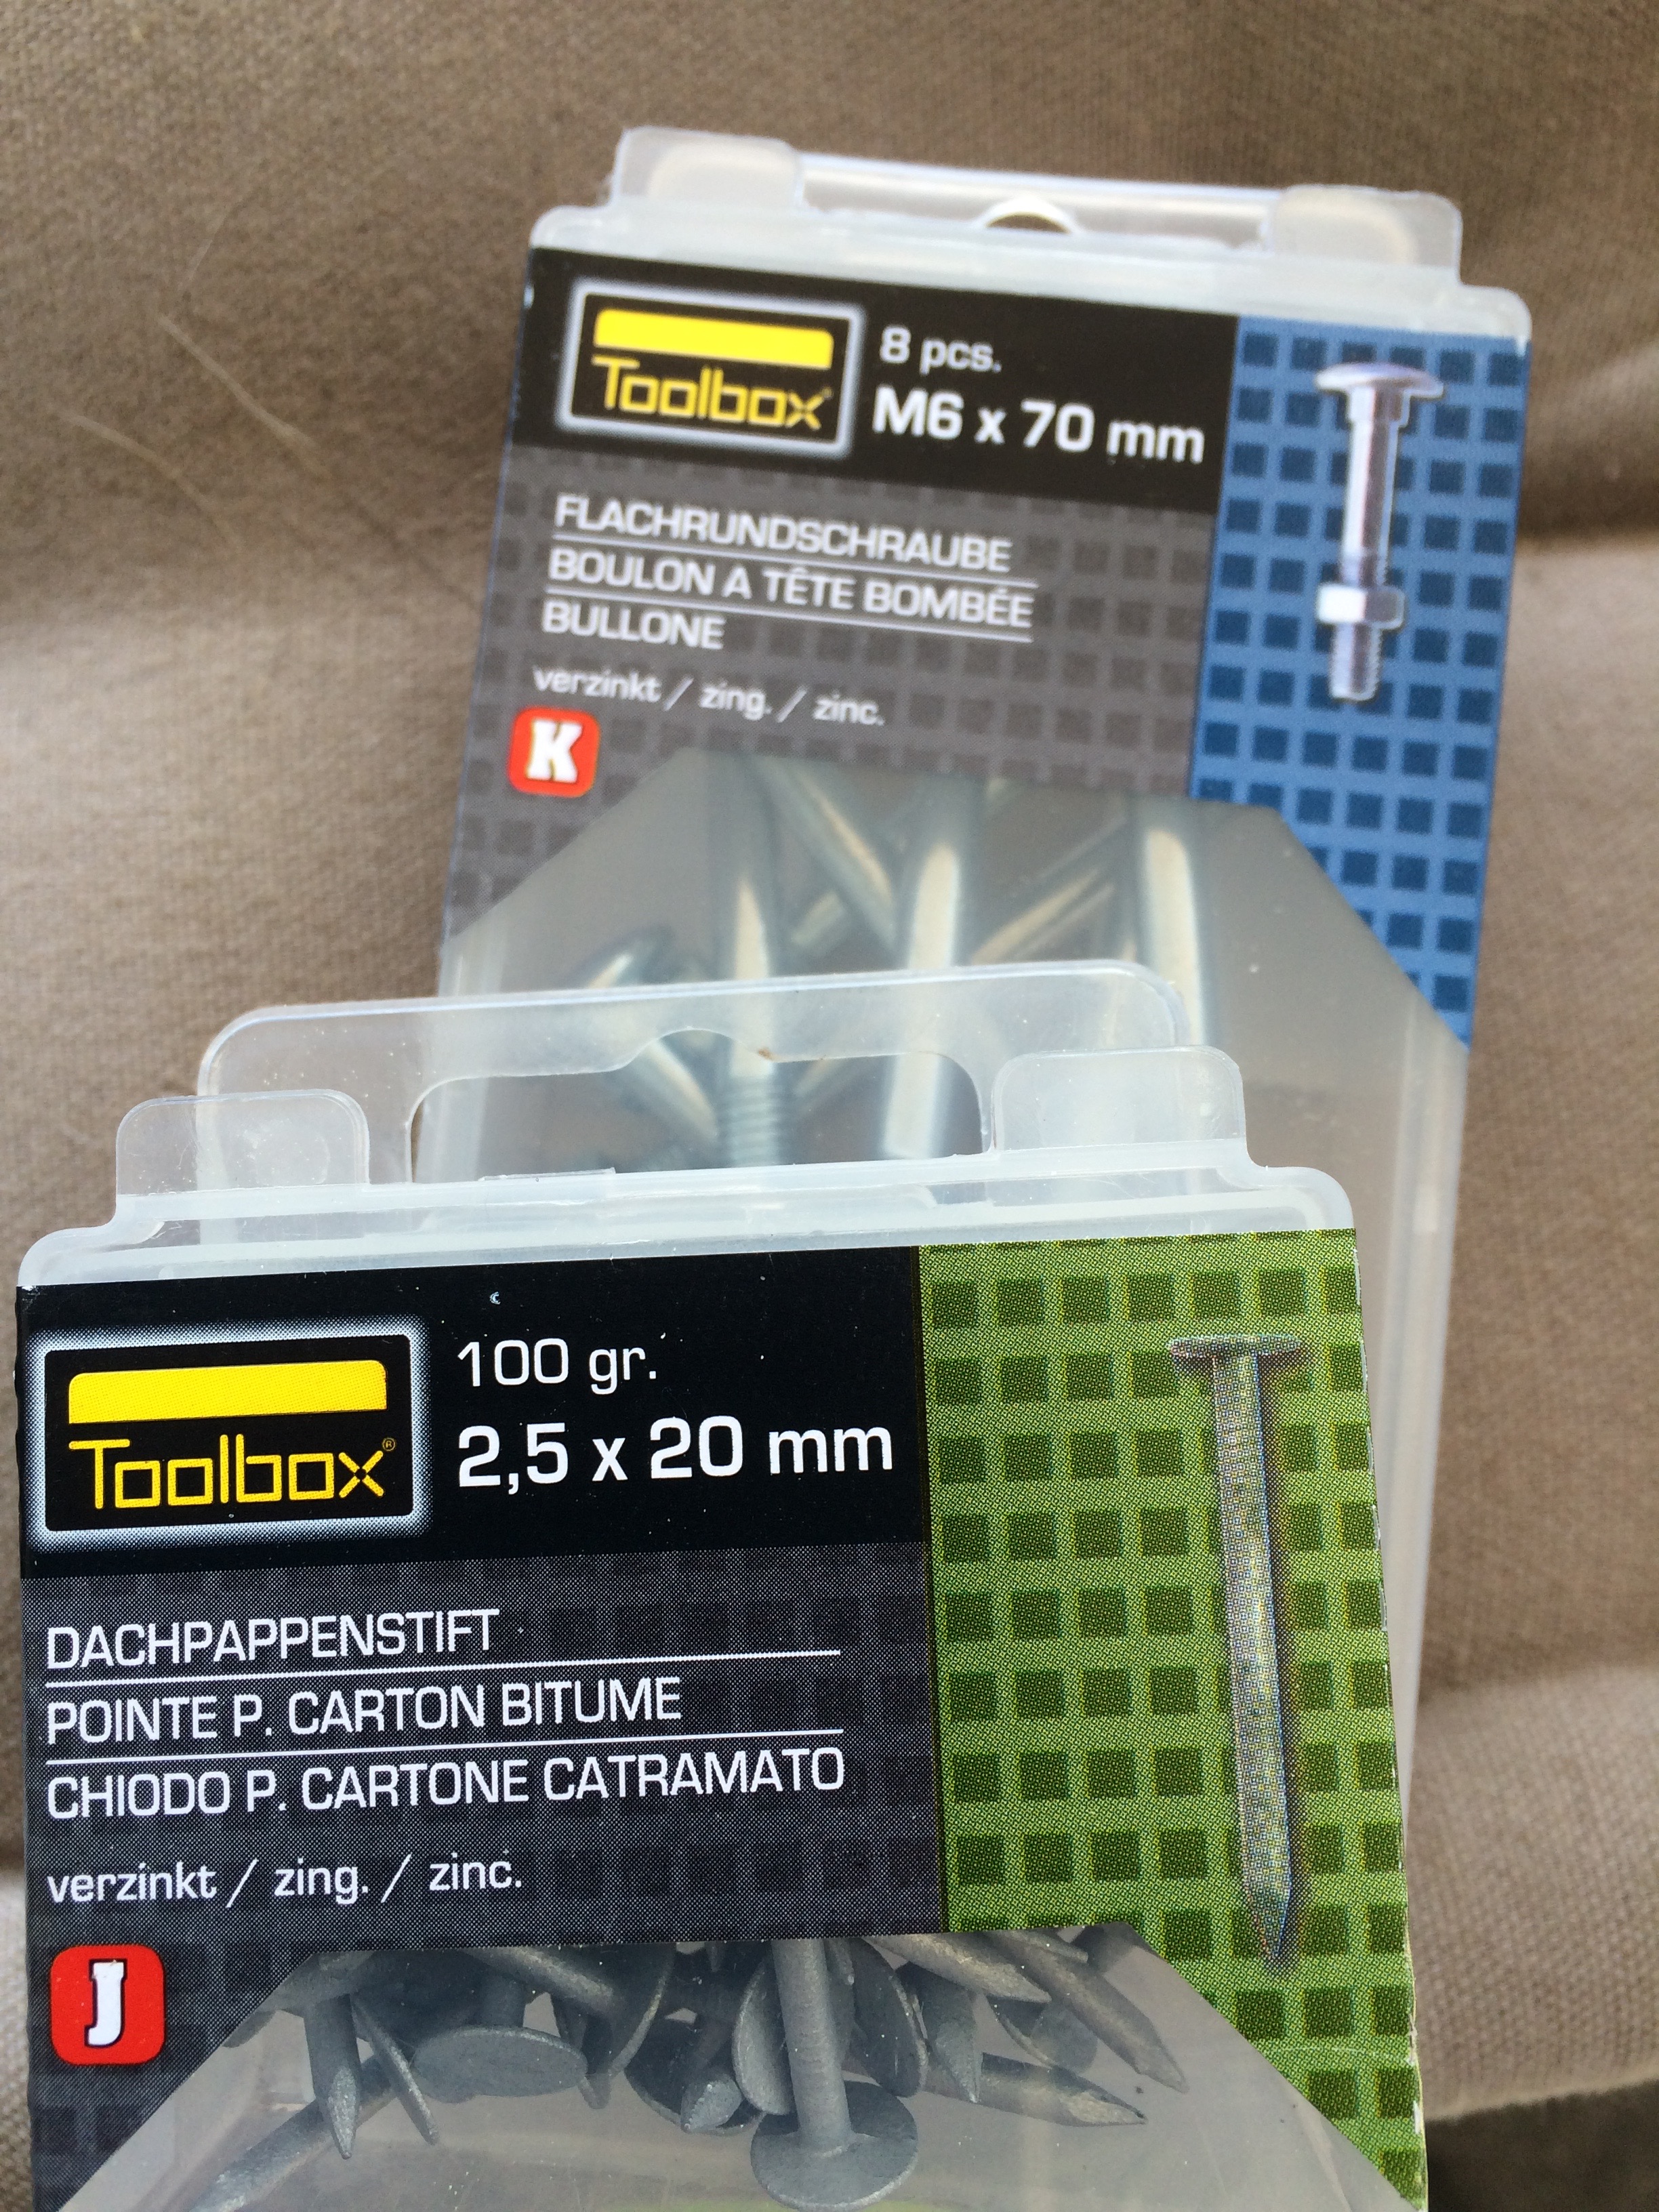
48 screws with nuts 70 mm
nails with large head
ca. 1 x 2 m plastic plank (usually used for ponds).
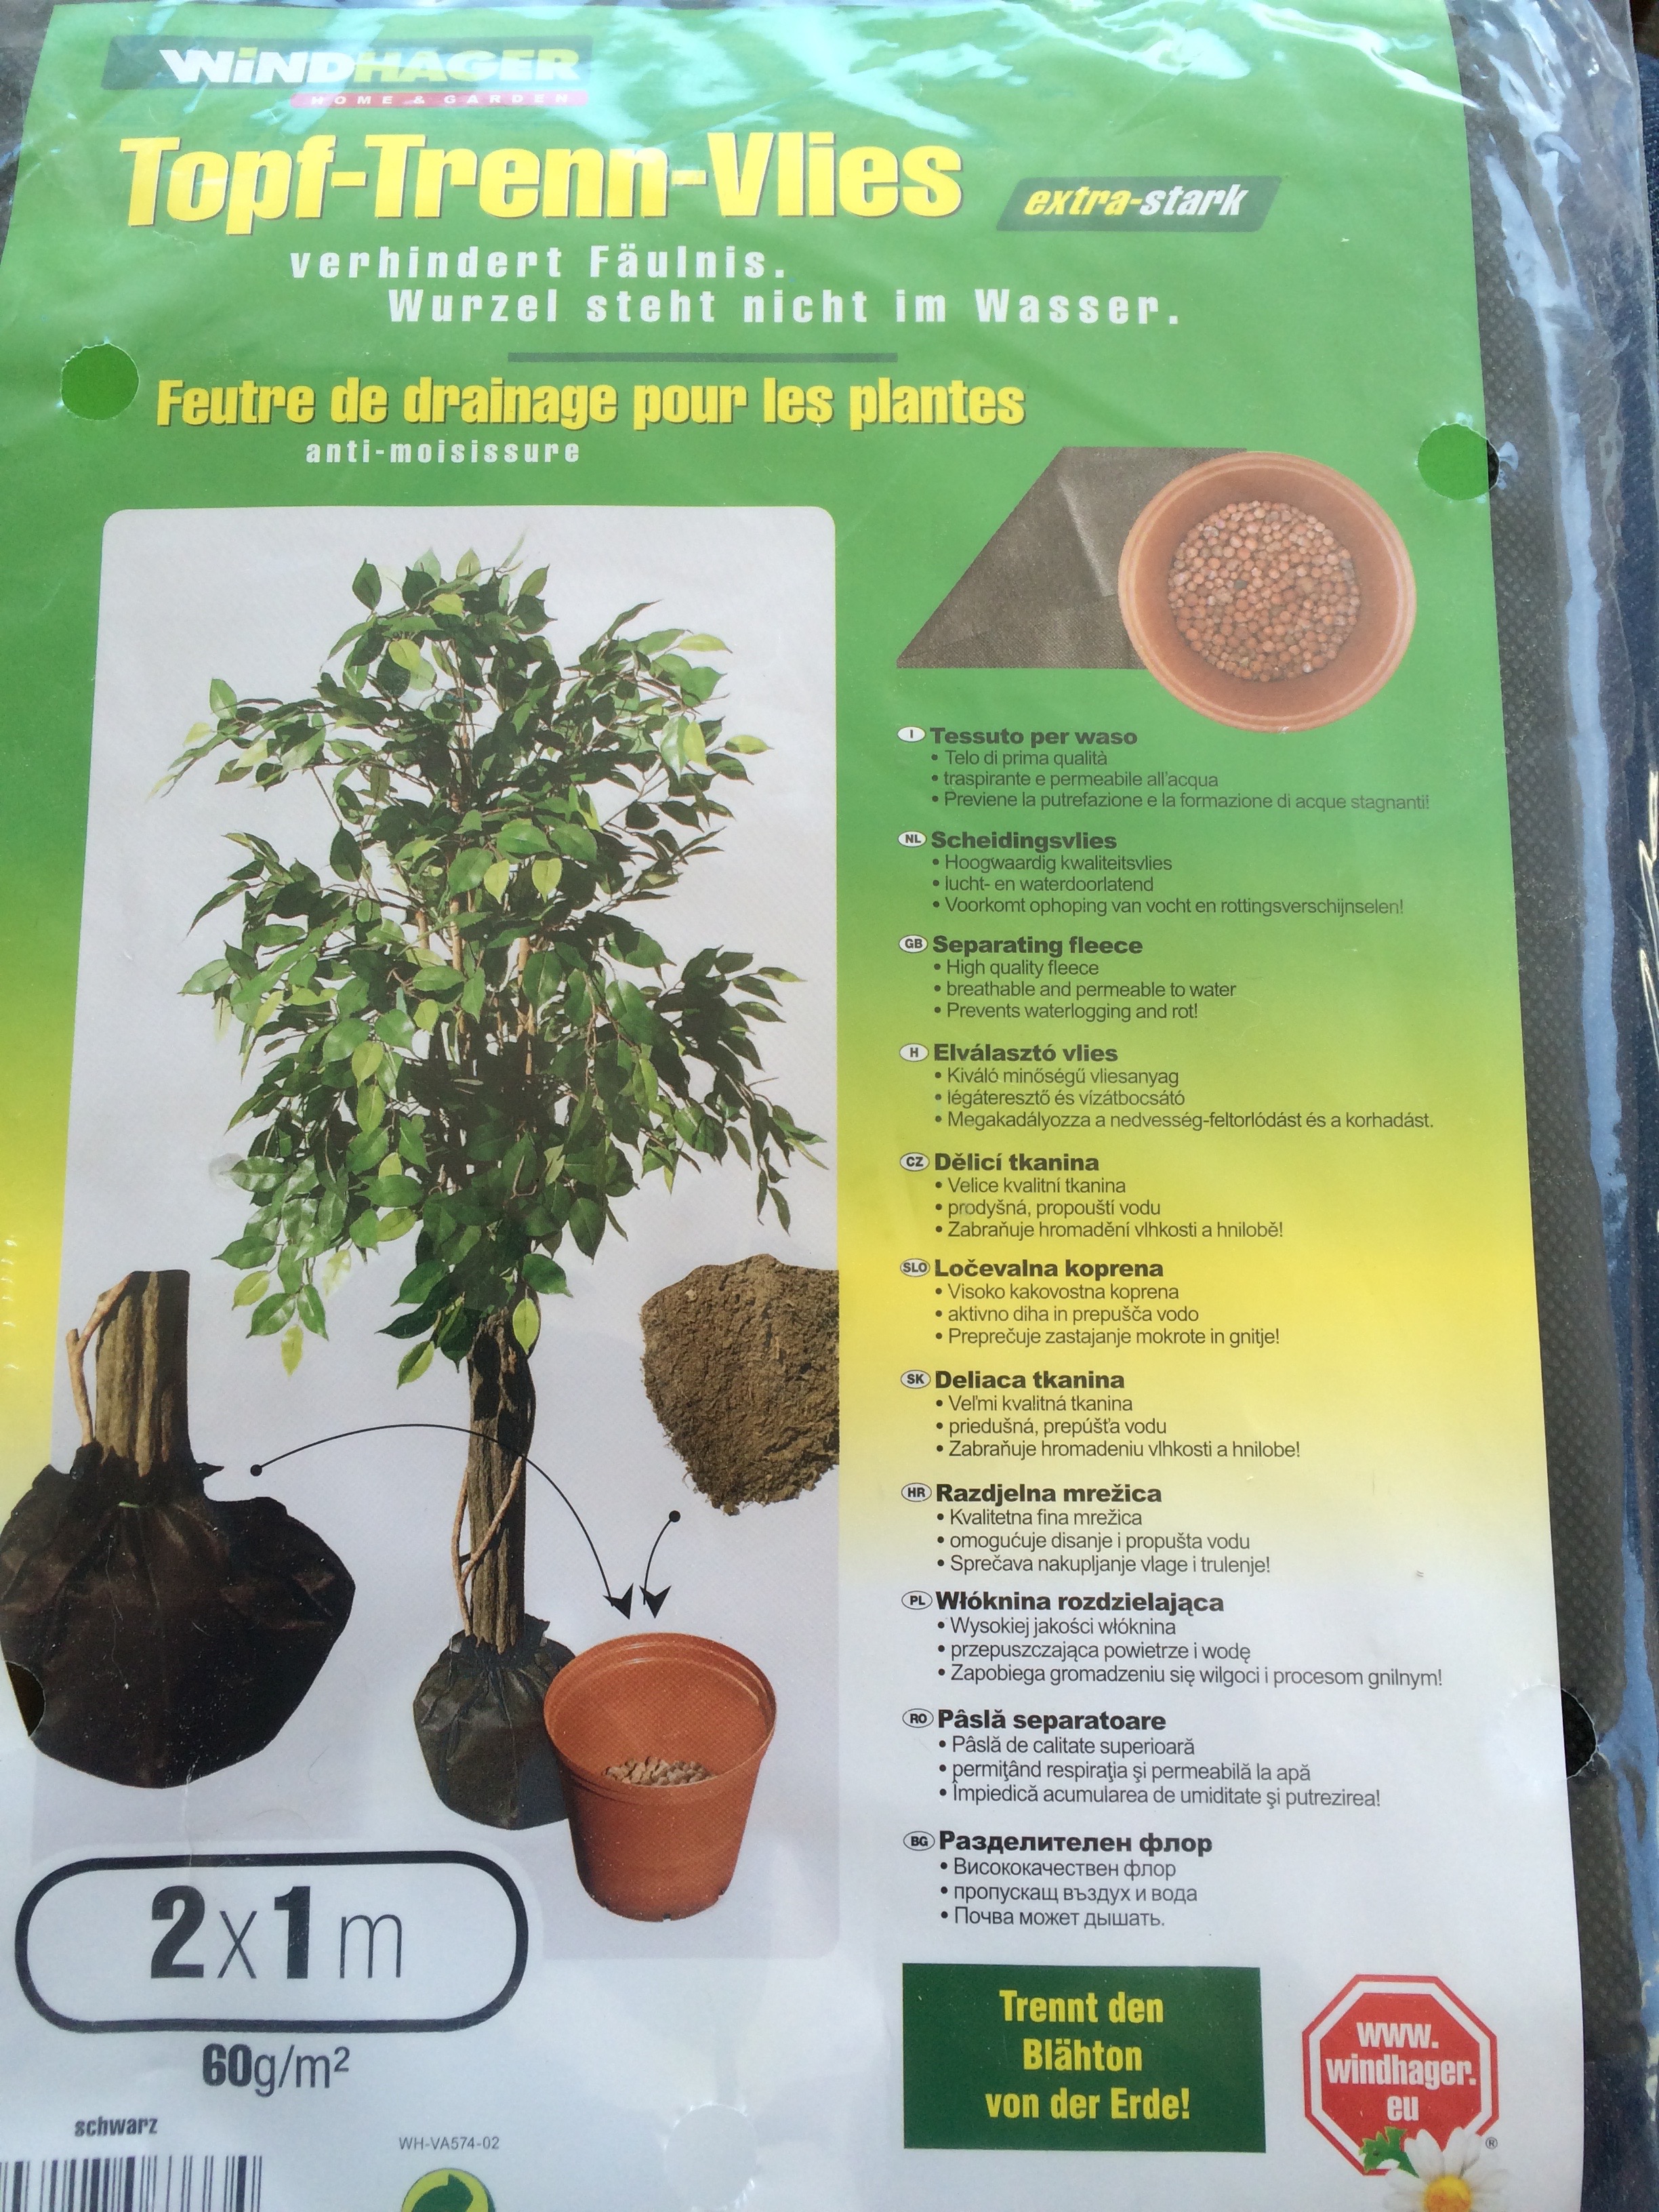
anti roots fleece at least 60 cm x 1,1 m
varnish, I choose a Teak color varnish with additional protection against humidity.
1 saw (1 used a jigsaw)
1 drill
On the wood planks draw with a pencil the line for 6 times 1 m planks and 6 times 0.5 m planks and then saw them.
Saw the poles in the middle of the length, you should get 4 poles 50 cm long and still 4 x 4 cm
On the shorter planks on the left and right side draw 2 crosses at 2 cm from the border and 2 cm from the top and bottom.
Do the same for the long planks but take 3 cm from the top and the bottom and 4.5 cm from the side.
This is necessary otherwise the 2 screws will cross.
Now use the 2 poles vertically and 3 short planks horizontally close to each other. The edge of the planks should coincide with the edge of the poles. Use a pencil and mark the holes so you can drill them.
Repeat with the other 2 poles with the other 3 short planks. Now you can all fixed them with your screws and nuts ( the nuts should be on the pole side.
Now you should turn the finished side boards and put the large planks on the sides in a similar way than before.
This time the plank will coincide with the edge of the short planks.
Pencil the holes, drill them and fix them with the rest of the screws and nuts.
Now it is time to varnish it on all sides. Let dry between the 2 hands.
Now you can fix the plastic plank in the inside walls of your raised-bed structure. Use the nails.
Place it on its final location. In my case, using planks only 14.5 cm wide you will have kind of 6.5 cm long feet.
If you place it on concrete you will have to saw them off. In my case it will be place on turf and I will dig them in for added stability.
Now you can place the fleece on the bottom and fix it on the sides with nails.
In the next part I will let you know how to fill it up and plant.
Different stages of preparation
Almost assembled….
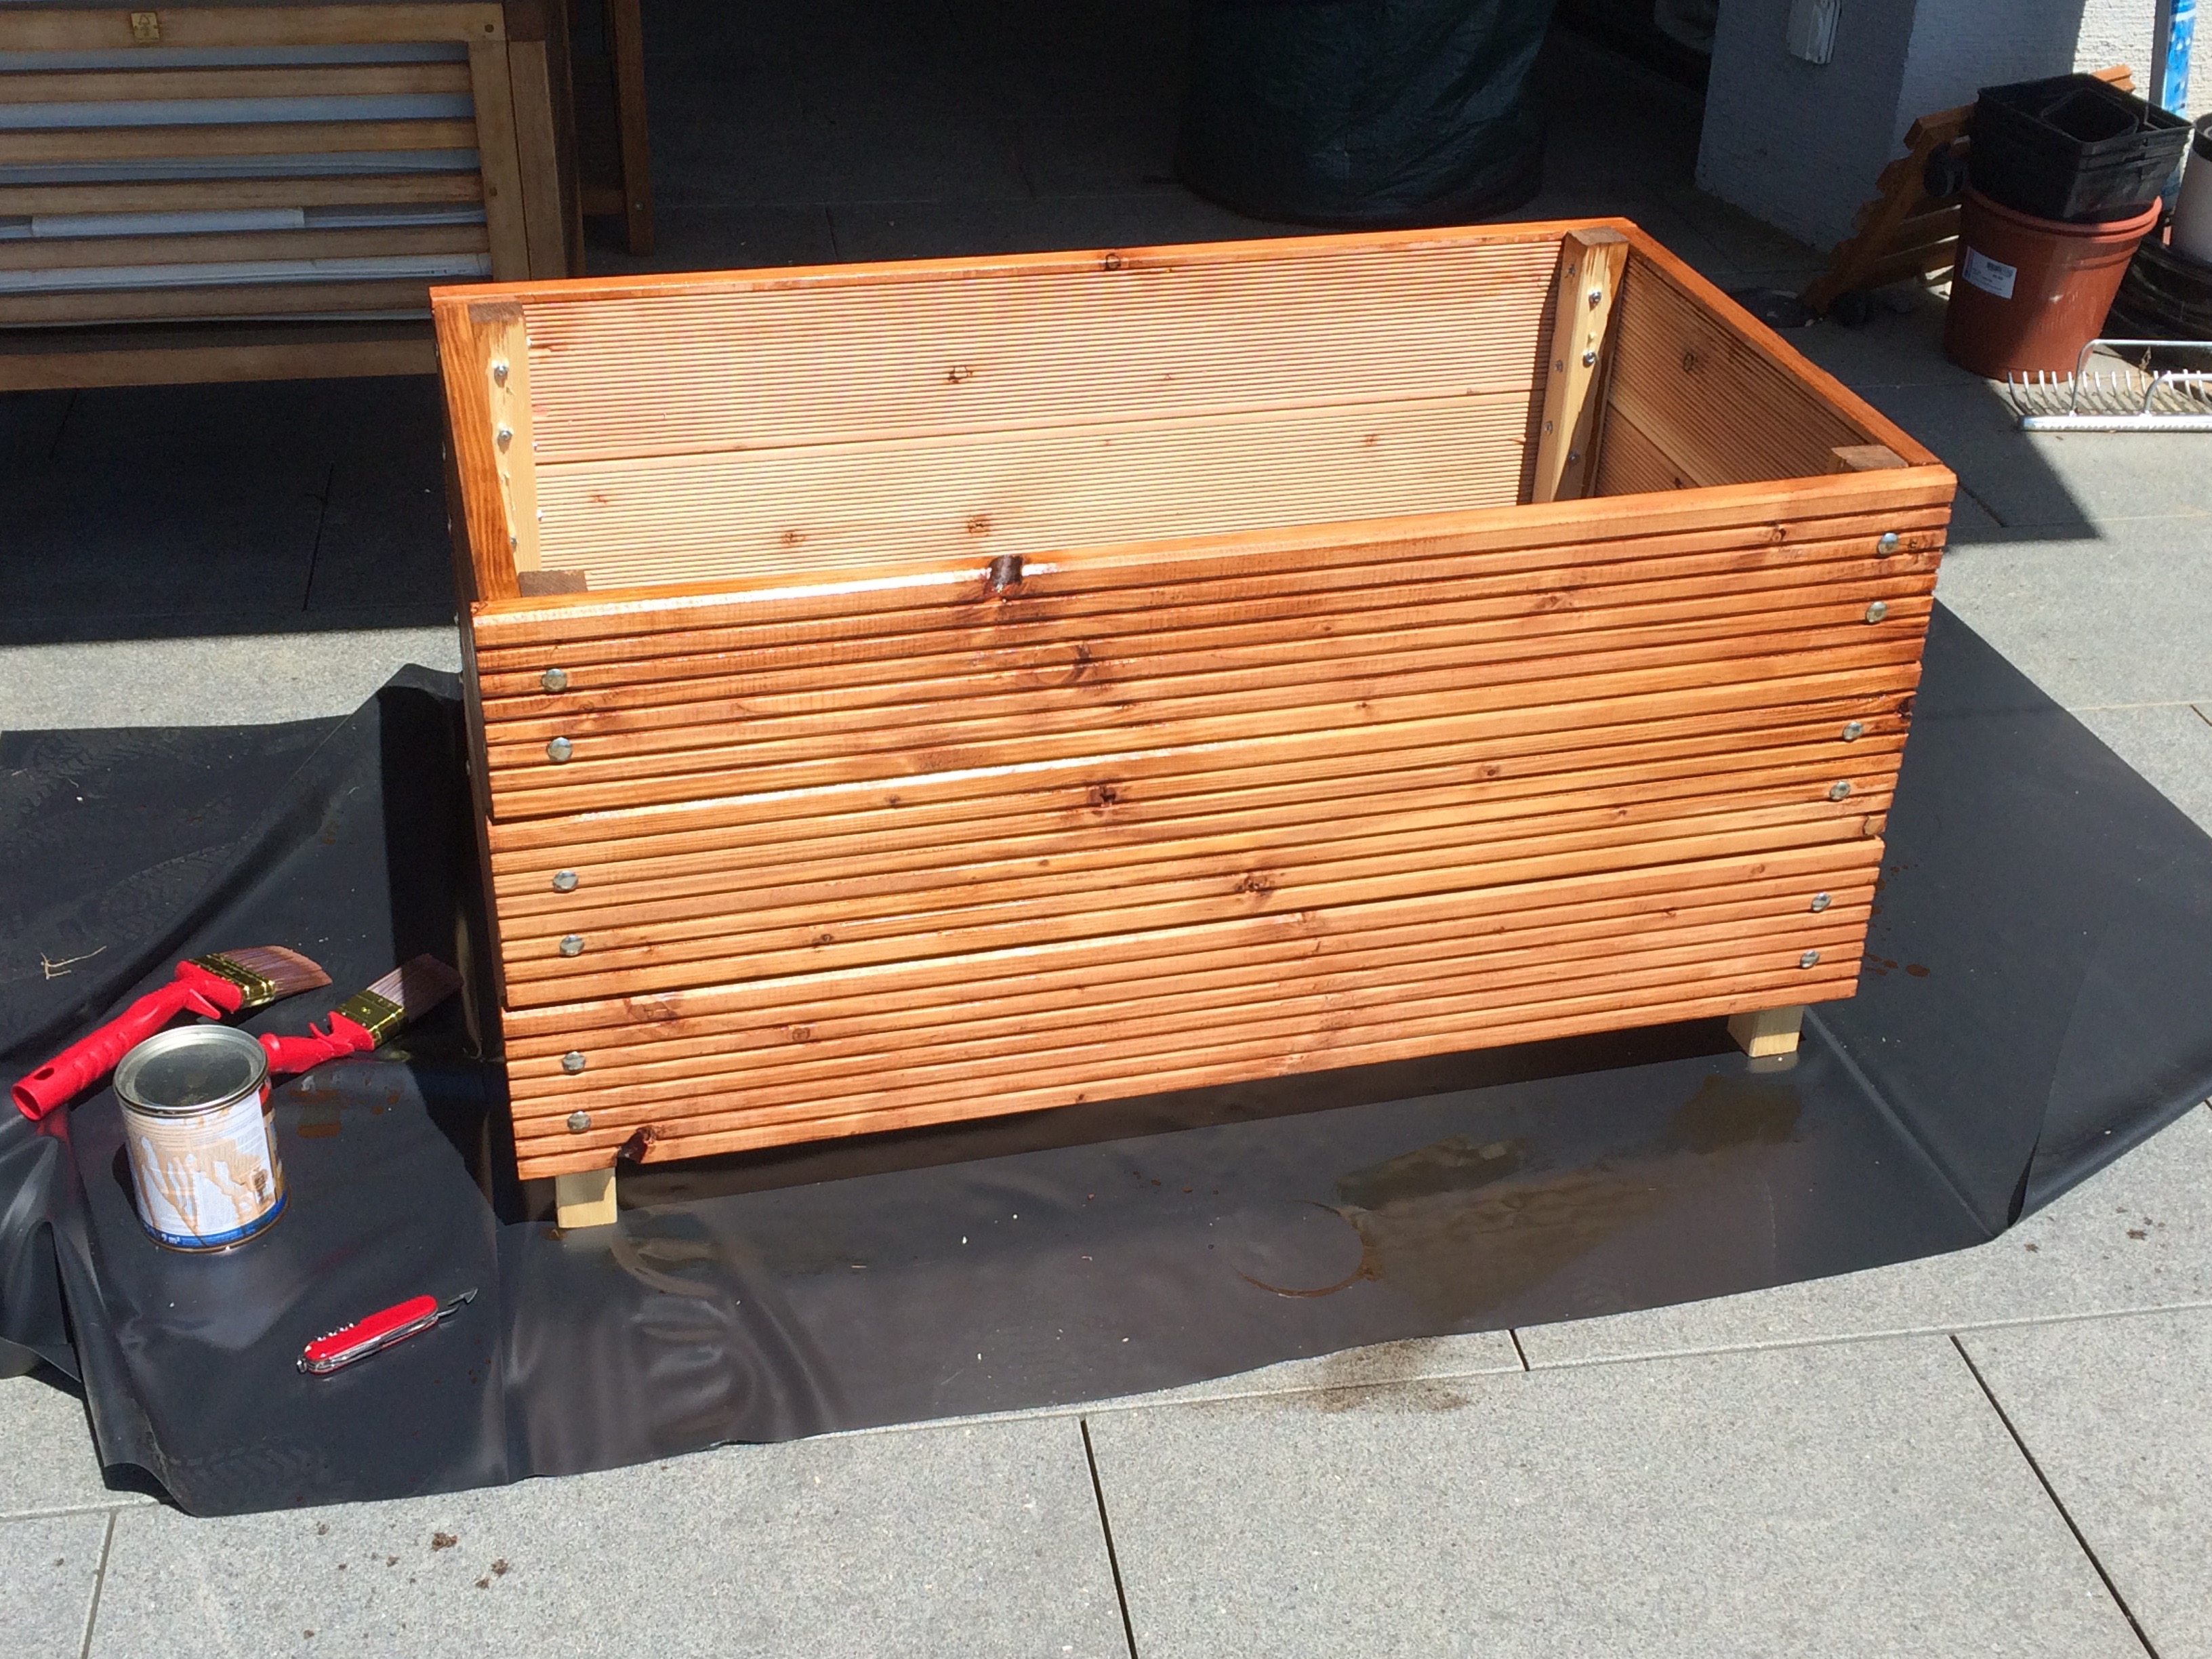
First hand of Varnish


Raised beds are fantastic. I made a few using reclaimed pallets, which I intend to blog in a few days. I’m cheap. What can I say? 😉 Nice job. How many did you make it plan to make?
LikeLike
I wanted to try one first to see how it goes. We already have a lot of pots and boxes 😉
LikeLike